
Now Reading: What’s the Secret to Making the Creamiest Cheesecake Ever?
-
01
What’s the Secret to Making the Creamiest Cheesecake Ever?
If you’ve ever sliced into a cheesecake that looked perfect on the outside but turned out dry, cracked, or oddly dense on the inside… you are NOT alone. Creating a truly creamy cheesecake is an art — but also a science — and once you understand the simple secrets behind it, you’ll never go back to any other recipe again.
The creamiest cheesecakes in the world all have one thing in common: they’re made with technique, not luck. And today, you’re going to learn every professional secret bakers use to get that silky-smooth, melt-in-your-mouth texture your family and guests will rave about.
This guide breaks down the ingredients, the mixing method, the baking temperature, the water bath hack, cooling steps, and the #1 mistake people make that ruins creaminess without realizing it.
Let’s unlock the secrets.
Start With the Right Cream Cheese — and Treat It Properly
If your cream cheese is wrong, your cheesecake will never be creamy, no matter how perfect your bake is.
✔ Use Full-Fat Brick Cream Cheese
In the USA, the best option is full-fat Philadelphia cream cheese brick. Avoid tubs — those contain stabilizers and extra water, which make your batter loose and prevent that dense creaminess.
✔ Bring It to Room Temperature
Cold cream cheese creates lumps. Lumps force you to over-mix. Over-mixing adds air. Air creates cracks and dryness.
Room-temperature cream cheese blends effortlessly, giving you that dreamy, silky batter with minimal effort.
✔ Beat It Slowly
Use low speed only, and mix until just smooth. High-speed mixing whips in air — the enemy of creaminess.
The Secret Ingredient Combo for Maximum Creaminess
Some people think creaminess comes from just adding more cream cheese. But the truth is, creaminess is created by the perfect ratio of fats and moisture.
Here’s the golden formula used by professional bakers:
✔ Cream Cheese + Sour Cream + Heavy Cream
This trio creates the richest texture:
- Cream cheese: Gives structure
- Sour cream: Adds tang and softness
- Heavy cream: Adds silky, melt-in-the-mouth richness
If you skip sour cream or heavy cream, your cheesecake becomes thicker and drier.
✔ Use Room-Temperature Eggs
Eggs are the binding agent. But cold eggs shock the batter and cause uneven texture.
Room-temperature eggs mix smoothly and help create that silky body.
✔ Add Eggs Last — and Mix the Least
Eggs hold air easily. If you over-mix after adding them, your cheesecake rises in the oven like a cake and collapses later, creating cracks.
Rule: Fold eggs gently. Do not whip.
The Magic of Cornstarch or Flour (Just a Little!)
Most New York–style cheesecakes use 1–2 tablespoons of either cornstarch or flour.
Why?
Because a tiny amount:
- Prevents cracking
- Stabilizes the filling
- Adds a subtle creaminess
- Helps the cheesecake slice cleanly
BUT adding too much turns the texture cakey.
The perfect amount is 1 tablespoon, especially if you’re after that ultra-smooth creamy bite.
Sugar Matters More Than You Think
Sugar isn’t just for sweetness — it affects texture.
A creamy cheesecake needs:
✔ Regular granulated sugar
It dissolves evenly and blends smoothly into the batter.
✔ Slow mixing
If sugar isn’t fully dissolved before baking, your texture becomes grainy. Take your time blending sugar into the cream cheese and sour cream before adding eggs.
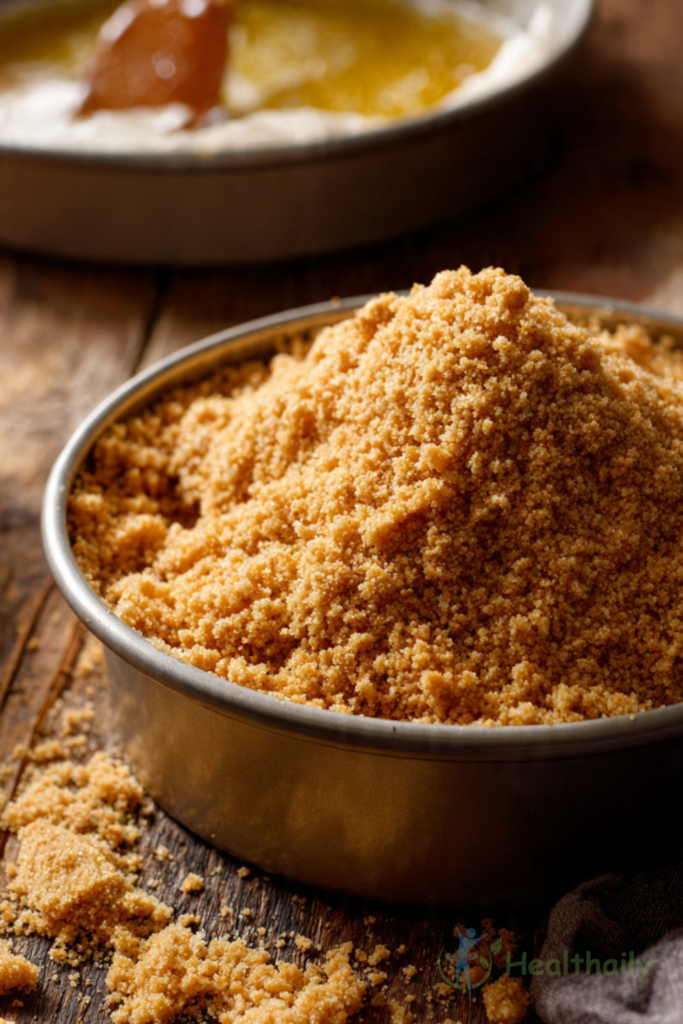
The Crust That Complements Creaminess
A great crust doesn’t make the cheesecake creamy, but it affects the experience.
A too-thick crust feels dry next to a creamy filling. The ideal ratio is:
- 1 ½ cups graham cracker crumbs
- 5 tbsp melted butter
- 2 tbsp sugar
Press gently — but not rock hard — so your fork glides through.
And yes, pre-bake your crust for 8–10 minutes so it doesn’t get soggy.
The Legendary Water Bath: The #1 Secret of Creamy Cheesecake
This is the step most home bakers skip, and it’s the step that matters the most.
A water bath ensures:
- Slow, even heat
- Zero cracking
- A velvety set
- Creaminess from edge to center
Cheesecake hates high heat and sudden changes in temperature. A water bath keeps everything controlled.
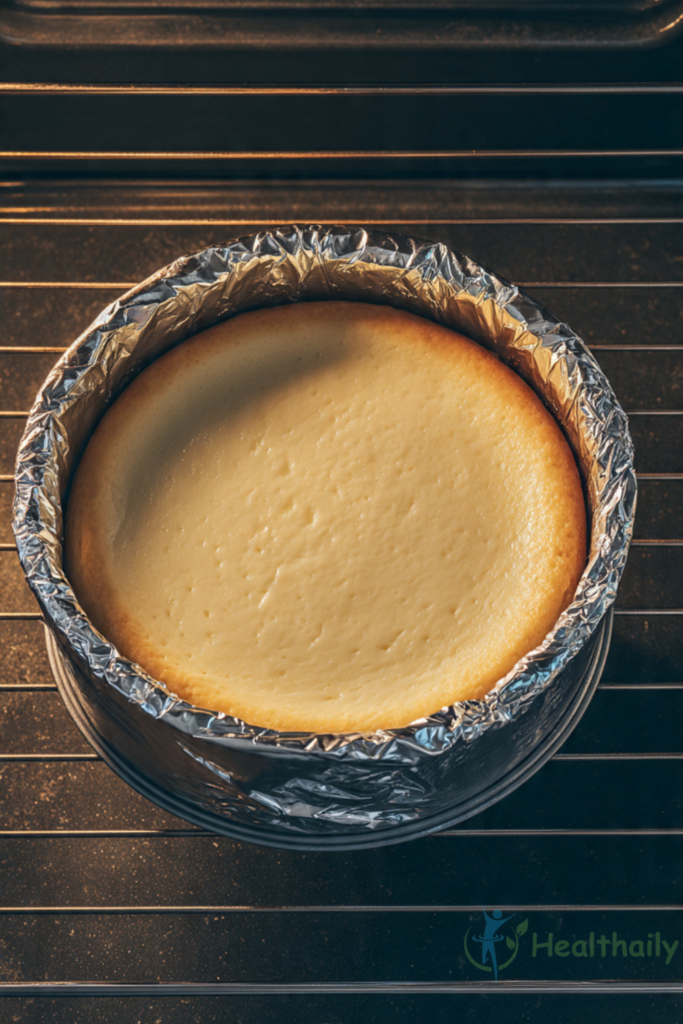
✔ How to Do It the Foolproof Way
Wrap your springform pan with two layers of heavy-duty foil.
Place the pan into a larger baking dish.
Pour hot water until it reaches halfway up the sides.
That’s it. Perfect creamy texture guaranteed.
Bake Low and Slow (Your Oven Temperature Matters!)
Cheesecake is basically a custard. Custards need gentle heat.
The creamiest cheesecake bakes at:
✔ 300°F–325°F (150°C–160°C)
High heat causes:
❌ Cracks
❌ Dryness
❌ Rubber-like texture
❌ Over-browned edges
Low heat ensures:
✔ Silky custard-like creaminess
✔ Smooth top
✔ Even texture
✔ Perfect color
And remember the golden rule:
✔ Do NOT open the oven door
The sudden cool air makes the cheesecake collapse.
Know When Your Cheesecake Is Done (The Jiggle Test)
Most beginners overbake — and nothing ruins creaminess faster.
The goal is a cheesecake that is:
- Set at the edges
- Slightly jiggly in the center (like Jell-O, not watery)
When you gently shake the pan, the middle should wobble like a soft pudding.
It will firm up in the fridge and become luxuriously creamy.
Cooling: The Most Underrated Secret of All
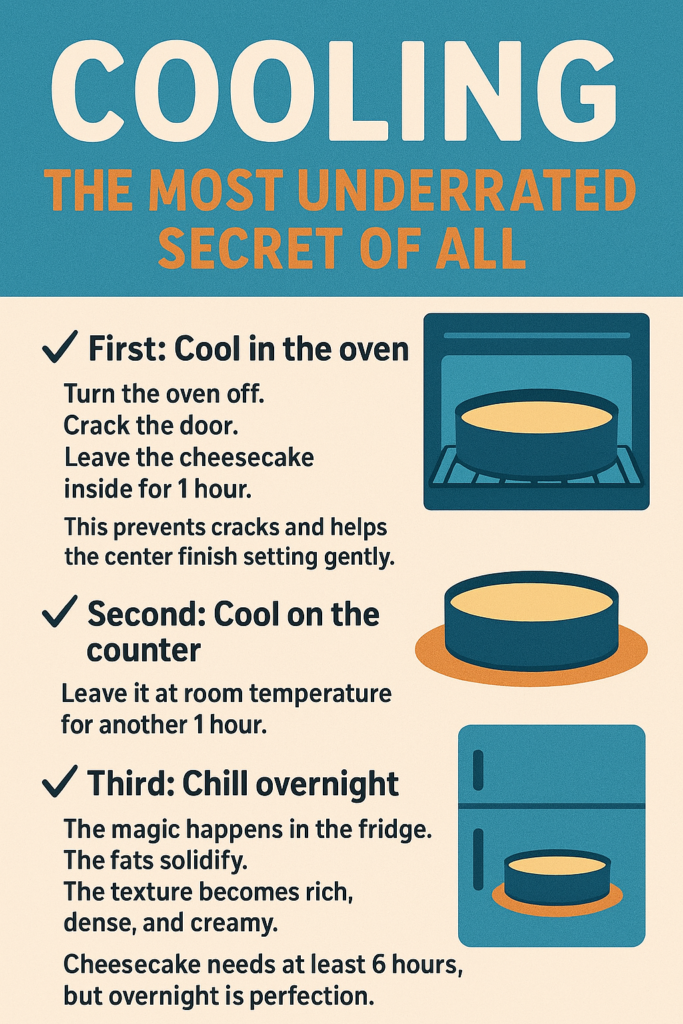
Cooling is just as important as baking — maybe even more.
✔ First: Cool in the oven
Turn the oven off. Crack the door. Leave the cheesecake inside for 1 hour.
This prevents cracks and helps the center finish setting gently.
✔ Second: Cool on the counter
Leave it at room temperature for another 1 hour.
✔ Third: Chill overnight
The magic happens in the fridge. The fats solidify. The texture becomes rich, dense, and creamy.
Cheesecake needs at least 6 hours, but overnight is perfection.
Never Rush the Unmolding Step
If you unclip the springform pan too early, you create tension on the sides, leading to cracks.
Run a thin knife around the edges before chilling, then remove the ring after the cheesecake is fully cold.
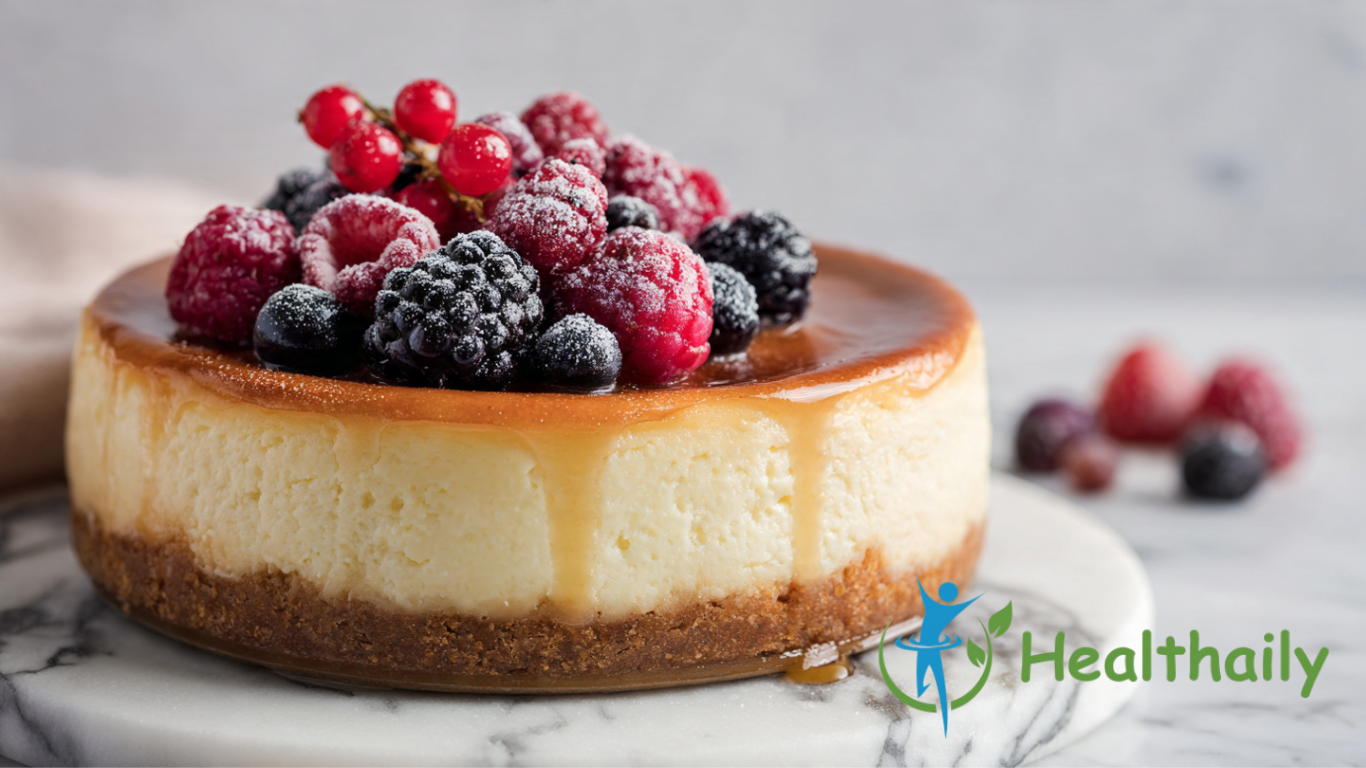
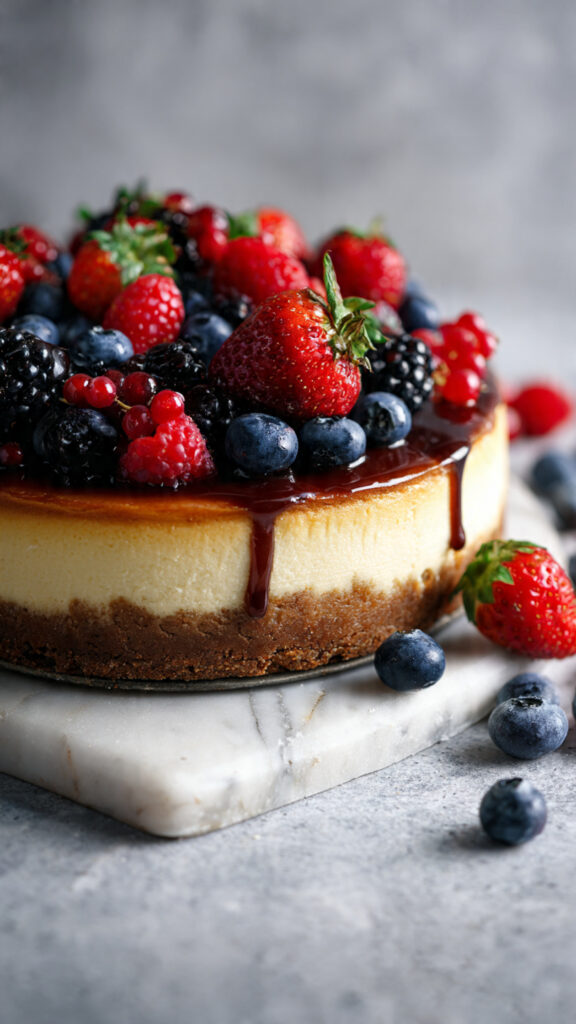
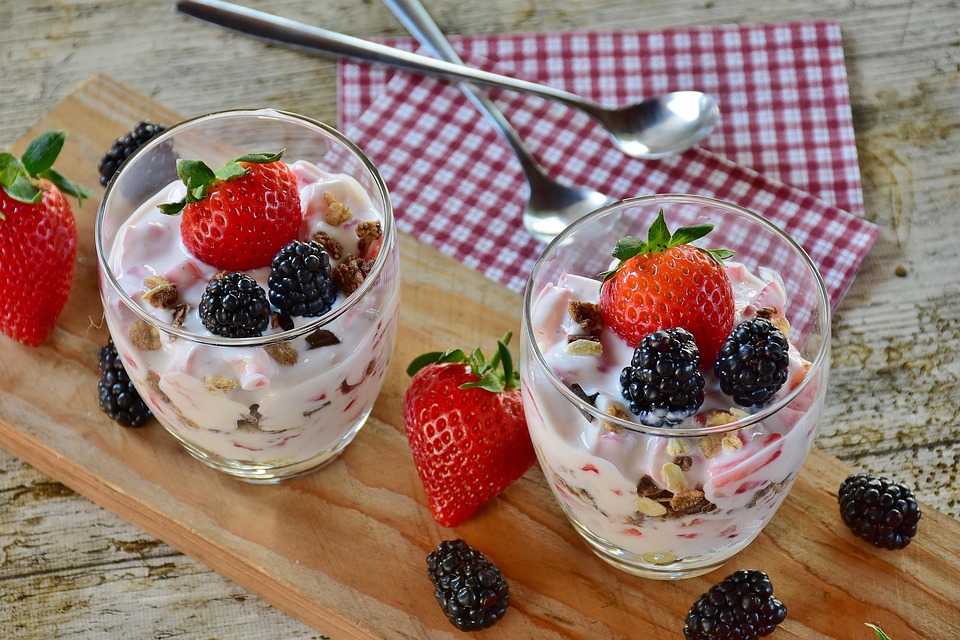
Toppings That Enhance Creaminess — Not Take Away from It
Some toppings harden in the fridge and ruin the texture experience.
The best toppings for a creamy cheesecake are:
- Fresh berries
- Whipped cream
- Warm berry compote
- Soft caramel drizzle
- Lemon curd
- Light chocolate ganache
Avoid hardened chocolate layers — they break the creamy bite.
The Most Common Mistakes That Kill Creaminess
If you avoid these, your cheesecake will turn out heavenly every single time.
❌ Using low-fat cream cheese
Watery and grainy.
❌ Over-mixing the batter
Adds too much air → cracks.
❌ Baking too hot or too fast
Creates dryness.
❌ Skipping the water bath
Texture becomes rubbery.
❌ Overbaking
The #1 reason cheesecakes turn out dry.
❌ Adding eggs too early
Makes the batter airy and unstable.
❌ Not chilling long enough
Keeps the inside loose and not fully creamy.
The Secret Ratio (Save This!)
This is the exact ratio many professional bakeries use:
- 4 bricks full-fat cream cheese
- 1 cup sugar
- 1 cup sour cream
- ½ cup heavy cream
- 4 eggs
- 1 tbsp cornstarch
- 2 tsp vanilla
This formula creates the perfect creamy New York–style texture.
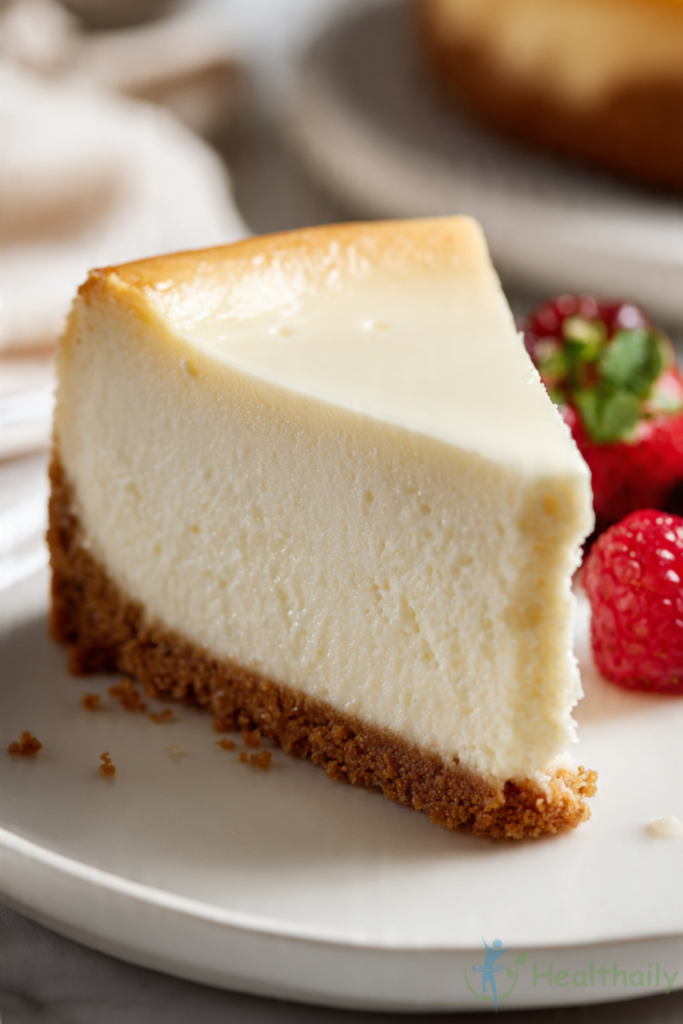
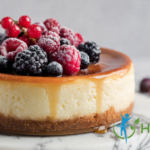
Texture Comparison (So You Know What Creaminess Should Look Like)
✔ Creamiest Cheesecake
- Smooth
- Glossy surface
- Soft, custard-like center
- Dense but silky
- No cracks
- Fork glides cleanly through
✔ Dry or Overbaked Cheesecake
- Chalky
- Crumbly edges
- Brown top
- Deep cracks
- Air pockets inside
- Tastes like sweet scrambled eggs
If your cheesecake has any of these issues, the problem is nearly always in the mixing or baking.
A Creamiest-Ever Cheesecake Recipe
Creamiest Cheesecake Ever (Foolproof Recipe)
Ingredients
- 4 packages full-fat cream cheese
- 1 cup granulated sugar
- 1 cup sour cream
- ½ cup heavy cream
- 1 tbsp cornstarch
- 4 eggs (room temperature)
- 2 tsp vanilla
- Graham cracker crust
Instructions
1. Preheat to 325°F and prepare a water bath.
Wrap the pan in foil.
2. Beat cream cheese on low until smooth.
No lumps, no air.
3. Add sugar and beat until creamy.
4. Mix in sour cream, heavy cream, vanilla, and cornstarch.
Blend until just combined.
5. Add eggs one at a time.
Mix very gently.
6. Pour into crust. Set in water bath.
7. Bake 60–75 minutes.
Edges should be set, center jiggly.
8. Cool slowly:
1 hour in oven → 1 hour on counter.
9. Chill overnight.
Perfect creamy texture.
Final Thoughts
The secret to the creamiest cheesecake ever is NOT one magical ingredient — it’s a chain of small steps that all support each other.
Use the right ingredients. Mix gently. Bake low and slow. Protect the batter with a water bath. And never, ever rush the cooling.
Once you master these tips, your cheesecake will turn out bakery-perfect every time — rich, silky, melt-in-your-mouth, and unbelievably creamy.
Related Posts

Stay Informed With the Latest & Most Important News
Previous Post
Next Post


Advertisement


Advertisement

-
 0112 Viral TikTok Desserts You Must Try at Home
 -
 027 Coffee Recipes Every Coffee Lover Needs to Try in 2025
 -
 037 Easy Homemade Coffee Drinks That Taste Better Than Starbucks
 -
 04What’s the Secret to Making the Creamiest Cheesecake Ever?
 -
 05No-Bake Desserts You Can Make in 10 Minutes or Less
 -
 06What Dessert Should You Bring to a Potluck? (Easy Answers!)
 -
 07Which Dessert Freezes the Best for Busy Weeks?