
I love creating rainbow smoothie jars. They look vibrant and taste delicious. These jars keep me cool during hot days. I share how to make them below. Each layer uses simple ingredients. The process is fun and easy. My goal is to help you create a colorful, healthy treat that looks great in photos.
Why I Choose Rainbow Smoothie Jars
I enjoy smoothie jars because they combine health and beauty. Each layer offers unique flavors. The colors make them perfect for sharing online. I feel refreshed after eating one. They also provide nutrients like vitamins and antioxidants. I find them ideal for breakfast or snacks. You can prepare them ahead for busy days.
Ingredients for Rainbow Smoothie Jars
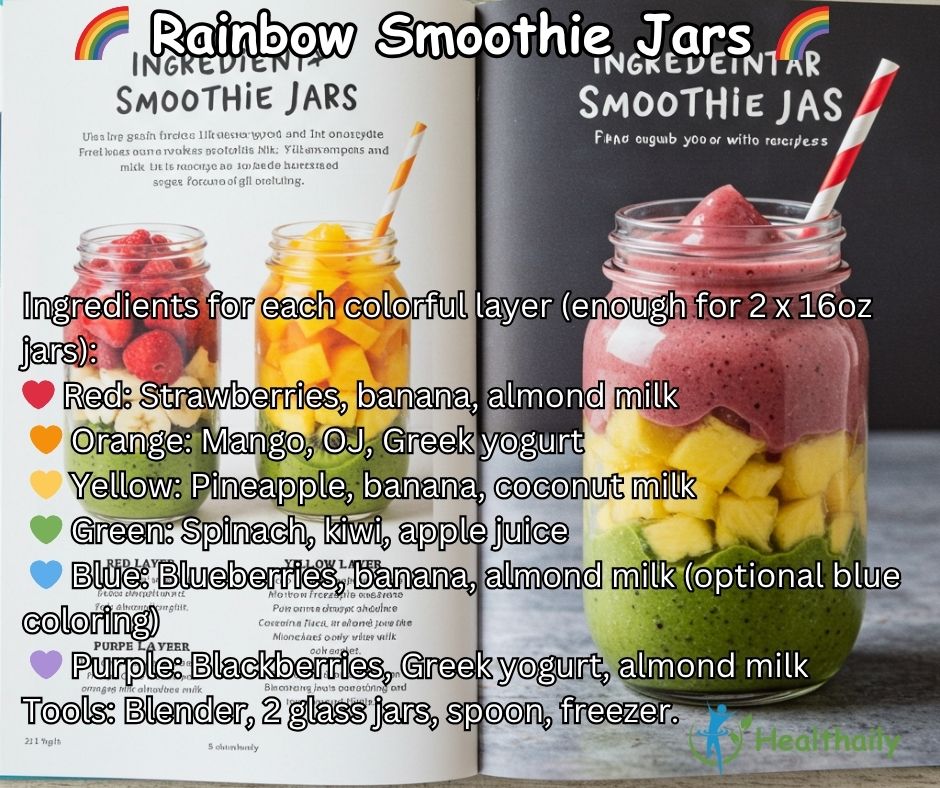
I use fresh and frozen ingredients for vibrant colors. Below, I list ingredients for each layer. Each makes enough for two 16-ounce jars.
Red Layer
I choose these for the red layer:
- I use one cup of frozen strawberries.
- I add half a banana for sweetness.
- I pour half a cup of almond milk.
Orange Layer
I select these for the orange layer:
- I use one cup of frozen mango.
- I add half a cup of orange juice.
- I include one tablespoon of Greek yogurt.
Yellow Layer
I pick these for the yellow layer:
- I use one cup of frozen pineapple.
- I add half a banana for creaminess.
- I pour half a cup of coconut milk.
Green Layer
I choose these for the green layer:
- I use one cup of spinach.
- I add one kiwi for tanginess.
- I pour half a cup of apple juice.
Blue Layer
I select these for the blue layer:
- I use one cup of frozen blueberries.
- I add half a banana for smoothness.
- I pour half a cup of almond milk.
- I include one drop of blue food coloring (optional).
Purple Layer
I pick these for the purple layer:
- I use one cup of frozen blackberries.
- I add half a cup of Greek yogurt.
- I pour half a cup of almond milk.
Base Supplies
I gather these tools:
- I use two 16-ounce glass jars.
- I need a blender for mixing.
- I use a spoon for layering.
- I keep a freezer for chilling jars.
Steps to Make Rainbow Smoothie Jars
I follow these steps to create my smoothie jars. Each layer takes about five minutes. I rinse the blender between layers to keep colors distinct.
Step 1: Prepare the Red Layer

I start with the red layer. I place one cup of frozen strawberries in the blender. I add half a banana. I pour half a cup of almond milk. I blend the ingredients for one minute. I divide the mixture between two jars. I place the jars in the freezer for ten minutes to set the layer.
Step 2: Add the Orange Layer

I move to the orange layer. I put one cup of frozen mango in the blender. I add half a cup of orange juice. I include one tablespoon of Greek yogurt. I blend the ingredients for one minute. I remove the jars from the freezer. I spoon the orange mixture over the red layer. I return the jars to the freezer for ten minutes.
Step 3: Create the Yellow Layer
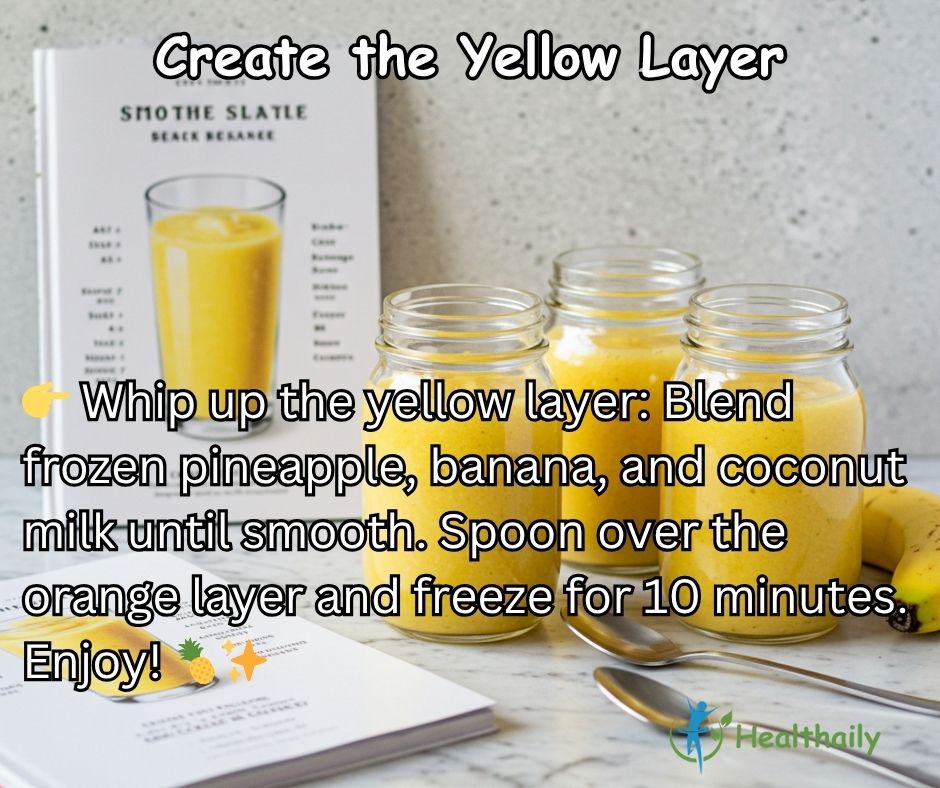
I prepare the yellow layer next. I place one cup of frozen pineapple in the blender. I add half a banana. I pour half a cup of coconut milk. I blend the ingredients for one minute. I take the jars from the freezer. I spoon the yellow mixture over the orange layer. I freeze the jars for ten minutes.
Step 4: Make the Green Layer
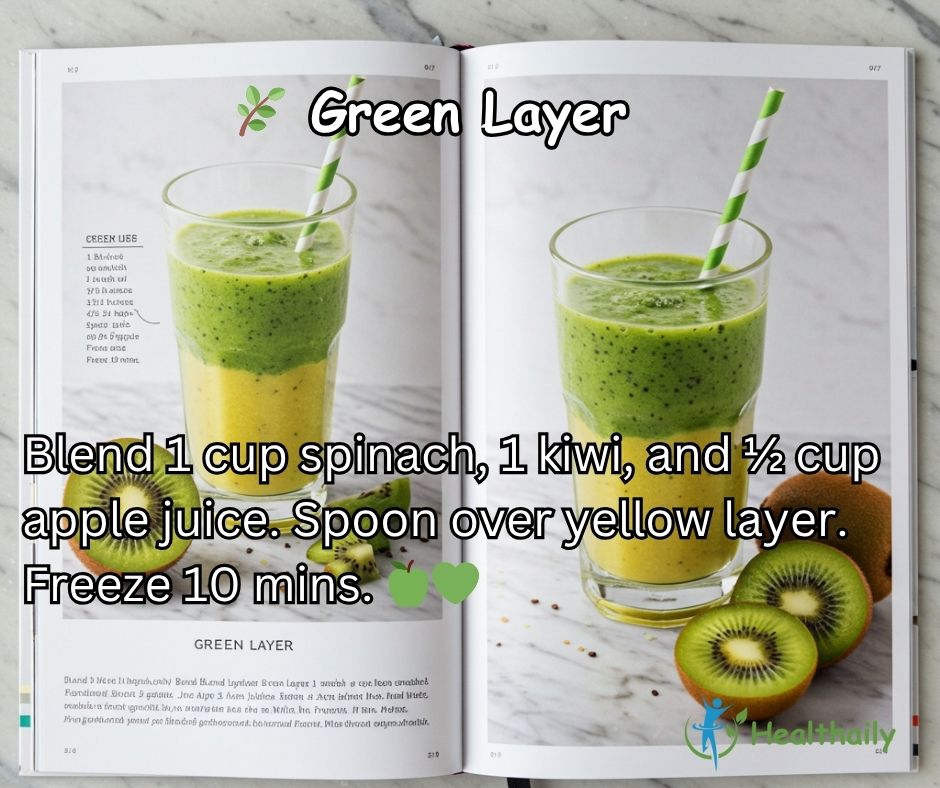
I work on the green layer. I put one cup of spinach in the blender. I add one kiwi. I pour half a cup of apple juice. I blend the ingredients for one minute. I remove the jars from the freezer. I spoon the green mixture over the yellow layer. I place the jars back in the freezer for ten minutes.
Step 5: Blend the Blue Layer
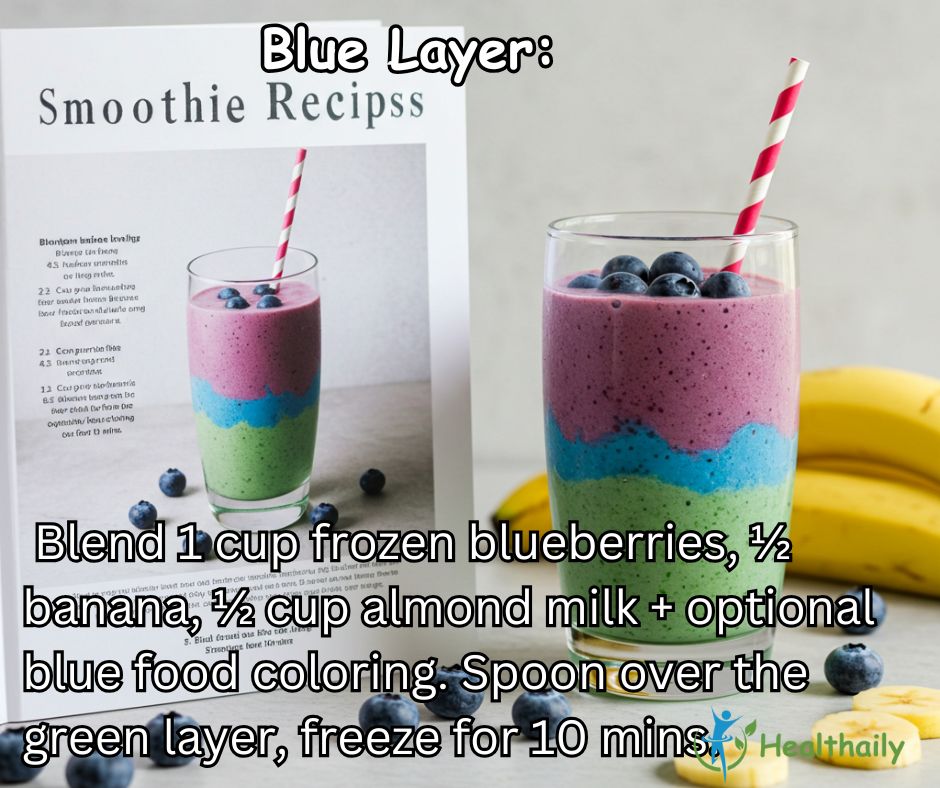
I create the blue layer. I place one cup of frozen blueberries in the blender. I add half a banana. I pour half a cup of almond milk. I include one drop of blue food coloring for vibrancy (optional). I blend the ingredients for one minute. I take the jars from the freezer. I spoon the blue mixture over the green layer. I freeze the jars for ten minutes.

Step 6: Finish with the Purple Layer
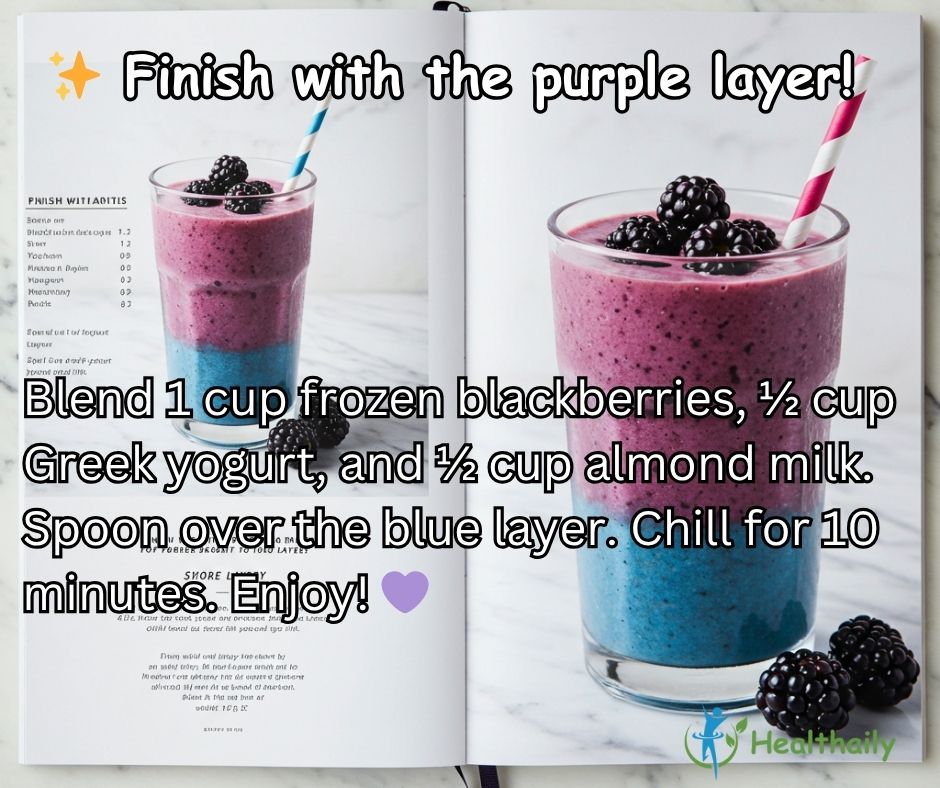
I complete the jars with the purple layer. I put one cup of frozen blackberries in the blender. I add half a cup of Greek yogurt. I pour half a cup of almond milk. I blend the ingredients for one minute. I remove the jars from the freezer. I spoon the purple mixture over the blue layer. I chill the jars for ten minutes.
Step 7: Serve and Enjoy
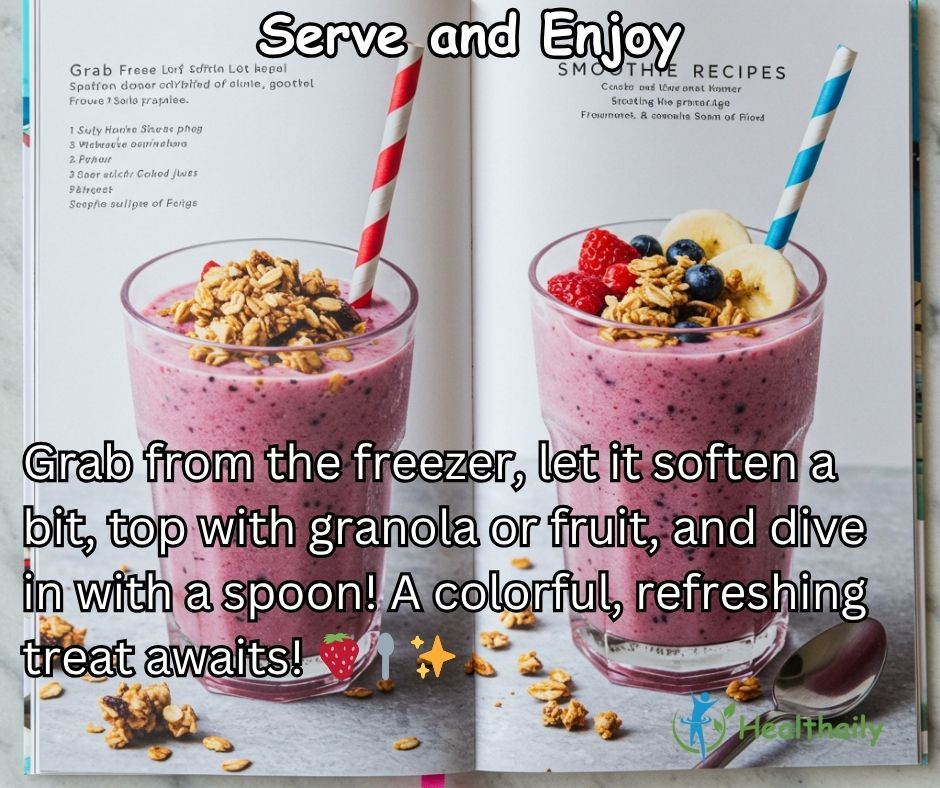
I take the jars from the freezer. I let them sit for five minutes to soften slightly. I add toppings like granola or fresh fruit for texture. I grab a spoon and enjoy the smoothie jar. The layers create a colorful, refreshing treat.
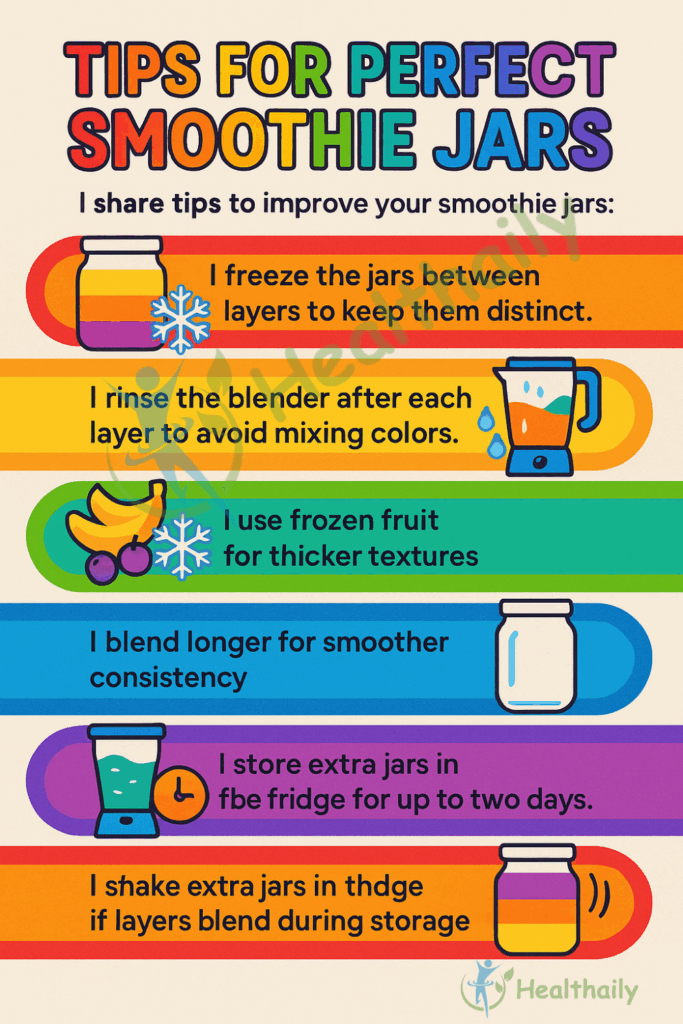
Tips for Perfect Smoothie Jars
I share tips to improve your smoothie jars:
- I freeze the jars between layers to keep them distinct.
- I rinse the blender after each layer to avoid mixing colors.
- I use frozen fruit for thicker textures.
- I blend longer for smoother consistency.
- I choose clear glass jars to show off the colors.
- I store extra jars in the fridge for up to two days.
- I shake the jar gently if layers blend during storage.
Download below infographic for future use
Why Smoothie Jars Are Instagram-Worthy
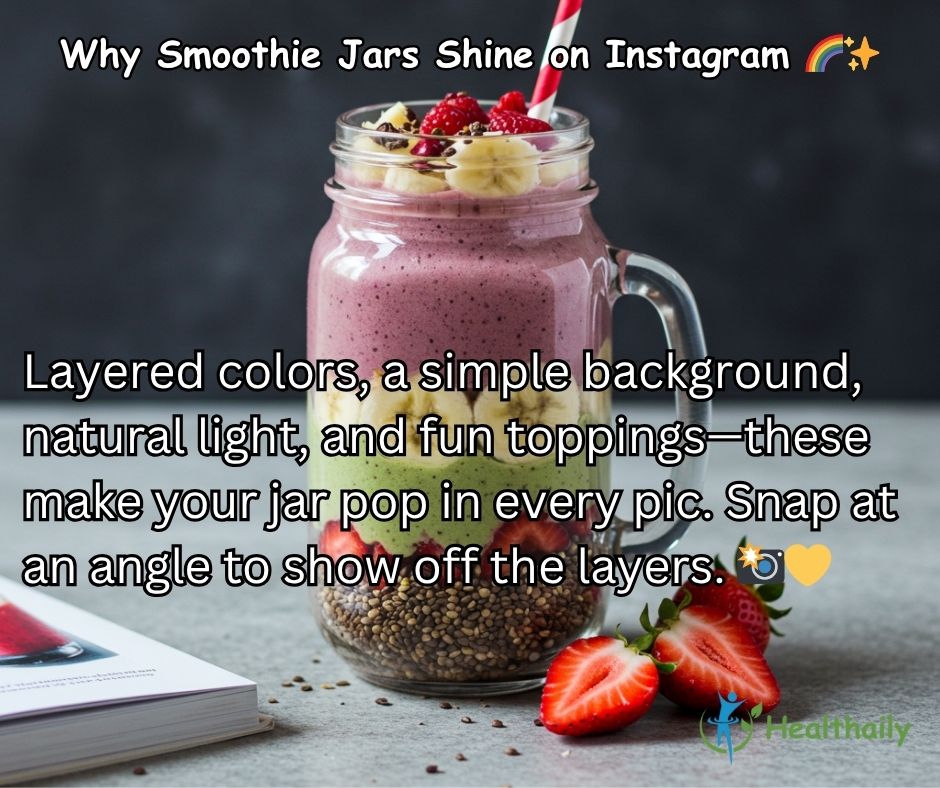
I find rainbow smoothie jars perfect for photos. The bright layers catch the eye. I place the jar against a simple background like a white table. I use natural light for clear pictures. I add colorful toppings like berries or coconut flakes. I snap a photo from a slight angle to show all layers. I share the photo online, and friends love the vibrant look.
Health Benefits of Smoothie Jars
I enjoy smoothie jars for their nutrients. Strawberries provide vitamin C. Mango offers vitamin A. Pineapple supports digestion. Spinach adds iron. Blueberries contain antioxidants. Blackberries supply fiber. I feel energized after eating a jar. The ingredients keep me full for hours.
Customizing Your Smoothie Jars
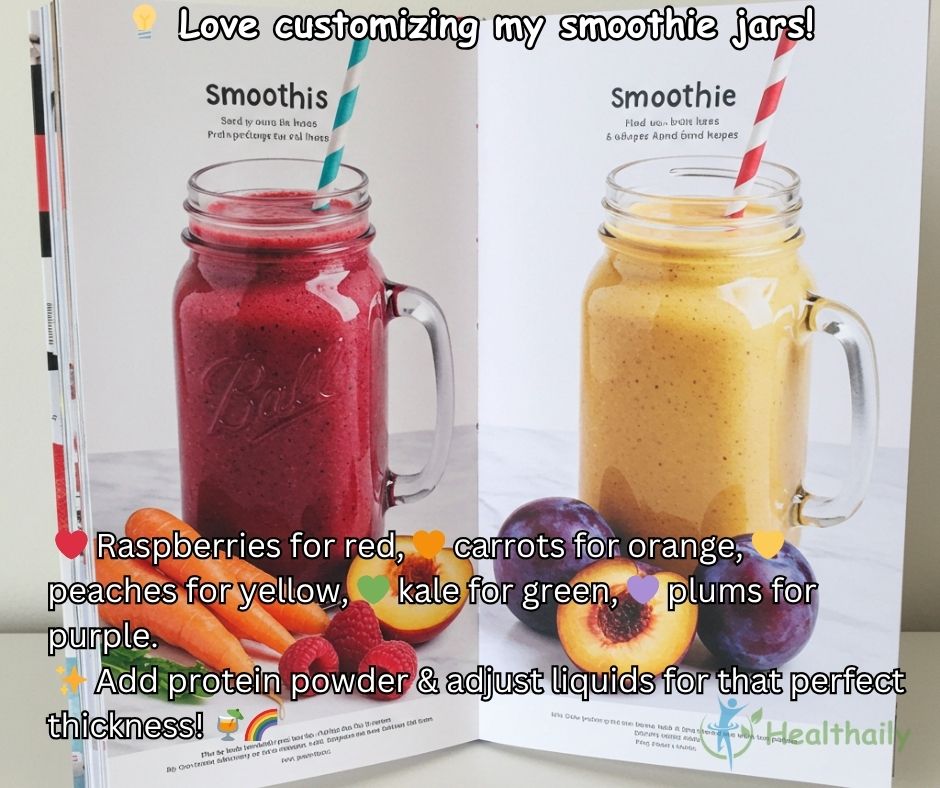
I like experimenting with my smoothie jars. I swap ingredients for variety. For the red layer, I sometimes use raspberries. For the orange layer, I try carrots. For the yellow layer, I test peaches. For the green layer, I use kale. For the blue layer, I skip food coloring for a natural hue. For the purple layer, I add plums. I adjust liquids to change thickness. I add protein powder for extra nutrition.
Making Smoothie Jars for Events
I prepare smoothie jars for gatherings. I make smaller jars for guests. I use 8-ounce jars for bite-sized portions. I set up a smoothie bar with ingredients. Guests choose their layers. I blend and layer the jars on the spot. Everyone enjoys the colorful display. I find it a fun way to share healthy treats.
Storing and Traveling with Smoothie Jars
I store smoothie jars for convenience. I seal the jars with lids. I keep them in the fridge for up to two days. I shake gently before eating to mix layers. For travel, I use insulated bags. I add ice packs to keep jars cold. I enjoy them on picnics or at work.
Download The 21-Day Smoothie Diet Right Now!
My Experience with Smoothie Jars
I started making smoothie jars last summer. The heat made me crave cool snacks. I saw colorful jars online and tried them. I loved the process of layering. Each jar felt like a small art project. I shared photos and got many likes. Friends asked for my recipe. I felt proud sharing my creations.
Encouraging You to Try Smoothie Jars
I encourage you to make rainbow smoothie jars. They are simple and fun. You need only a blender and jars. The ingredients are easy to find. The process takes about 30 minutes. You get a healthy, colorful treat. You can share photos online. I hope you enjoy them as much as I do.